This is the first post in a series on capturing human motion with OpenPose and turning it into a 3D reconstruction. In Part 1 we install OpenPose on Windows and run it from the command line to produce 2D pose data. The video above shows every step on screen; this article is a written companion you can follow along with.
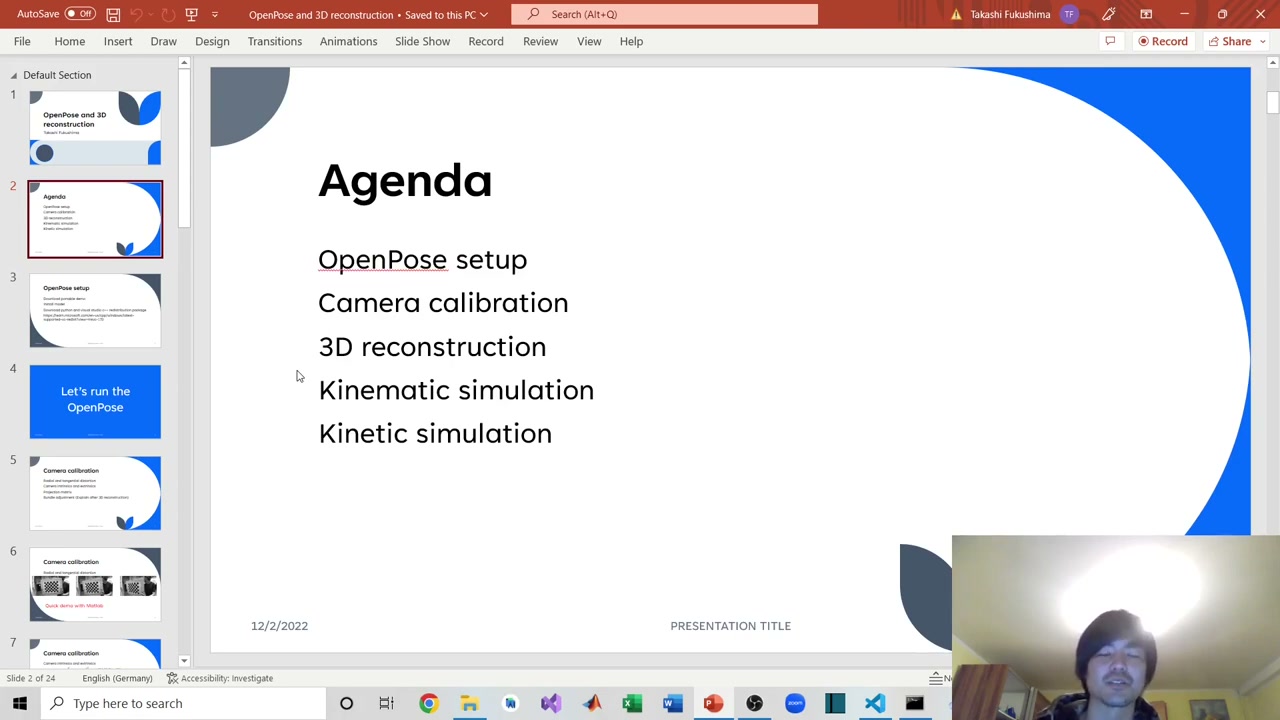
- OpenPose setup (this post)
- Camera calibration
- 3D reconstruction
- Kinematic simulation
- Kinetic simulation
What is OpenPose?
OpenPose is an open-source, real-time system for multi-person 2D pose estimation from the Perceptual Computing Lab at Carnegie Mellon University. From a video it detects body, face, and hand keypoints and writes them out as JSON. Later in this series we will combine those 2D keypoints from many camera angles to reconstruct the movement in 3D.
Step 1 — Download the portable demo
Search the web for “OpenPose release”, or go straight to the OpenPose releases page on GitHub. Open the latest release — v1.7.0 at the time of recording — and download the portable demo that matches your hardware:
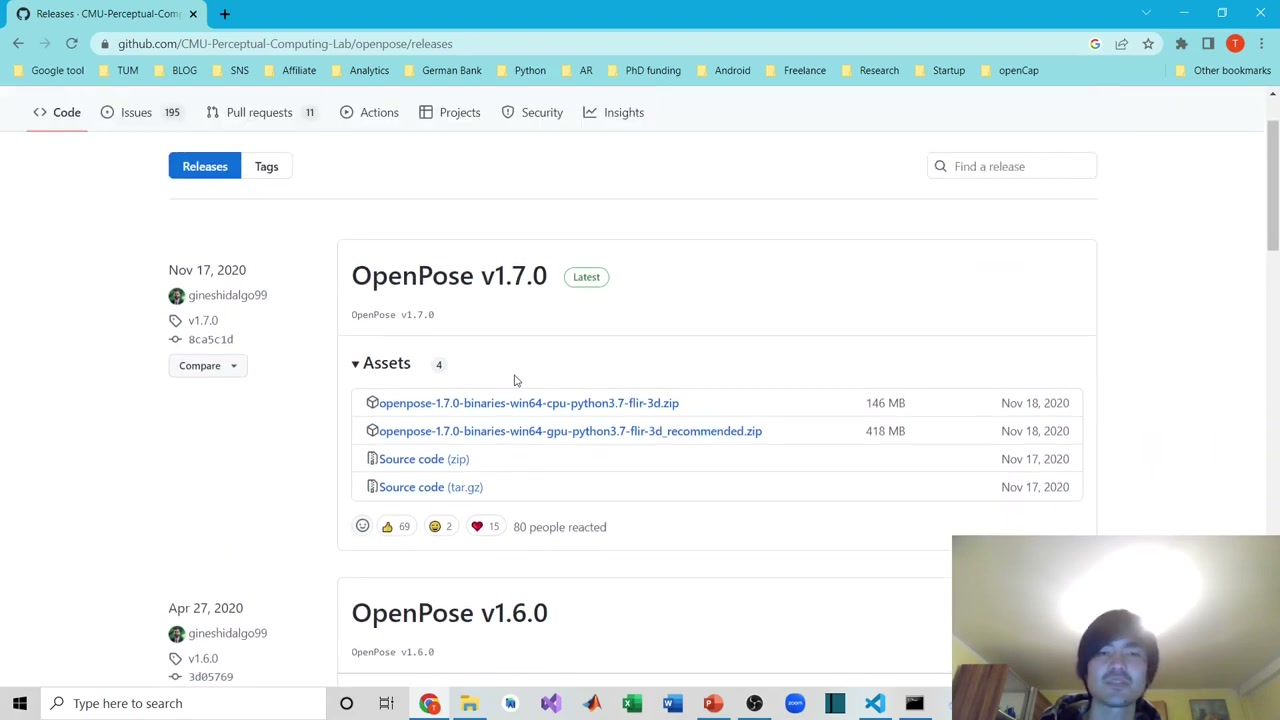
- GPU build —
openpose-1.7.0-binaries-win64-gpu-python3.7-flir-3d_recommended.zip(~418 MB). Choose this if you have an NVIDIA GPU; it is much faster. - CPU build —
openpose-1.7.0-binaries-win64-cpu-python3.7-flir-3d.zip(~146 MB). Use this if you only have a CPU; it works, but slower.
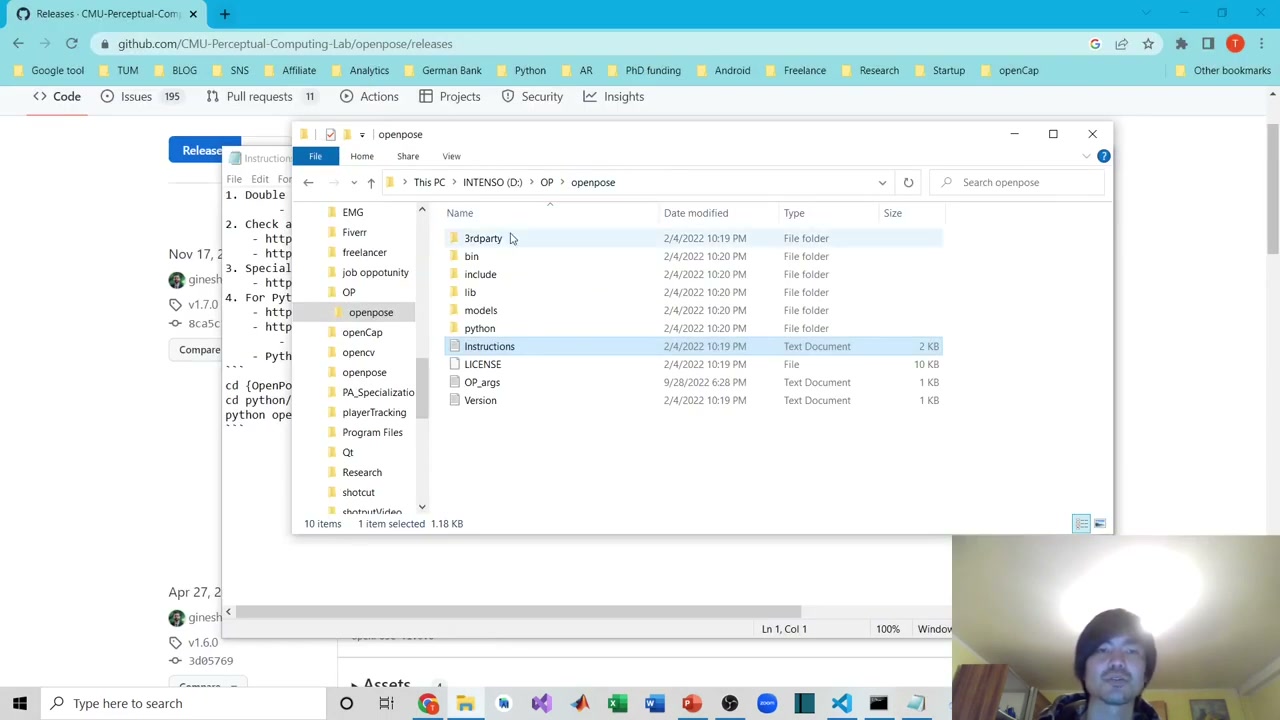
Unzip the download. Inside you will find folders such as bin, models, and python, plus an Instructions text file worth skimming — though the most important step is the next one.
Step 2 — Download the models
OpenPose ships without its trained models, so you fetch them once. Open the models folder and double-click the included batch file — it automatically downloads the required body, face, and hand models.
Step 3 — Install the Visual C++ Redistributable
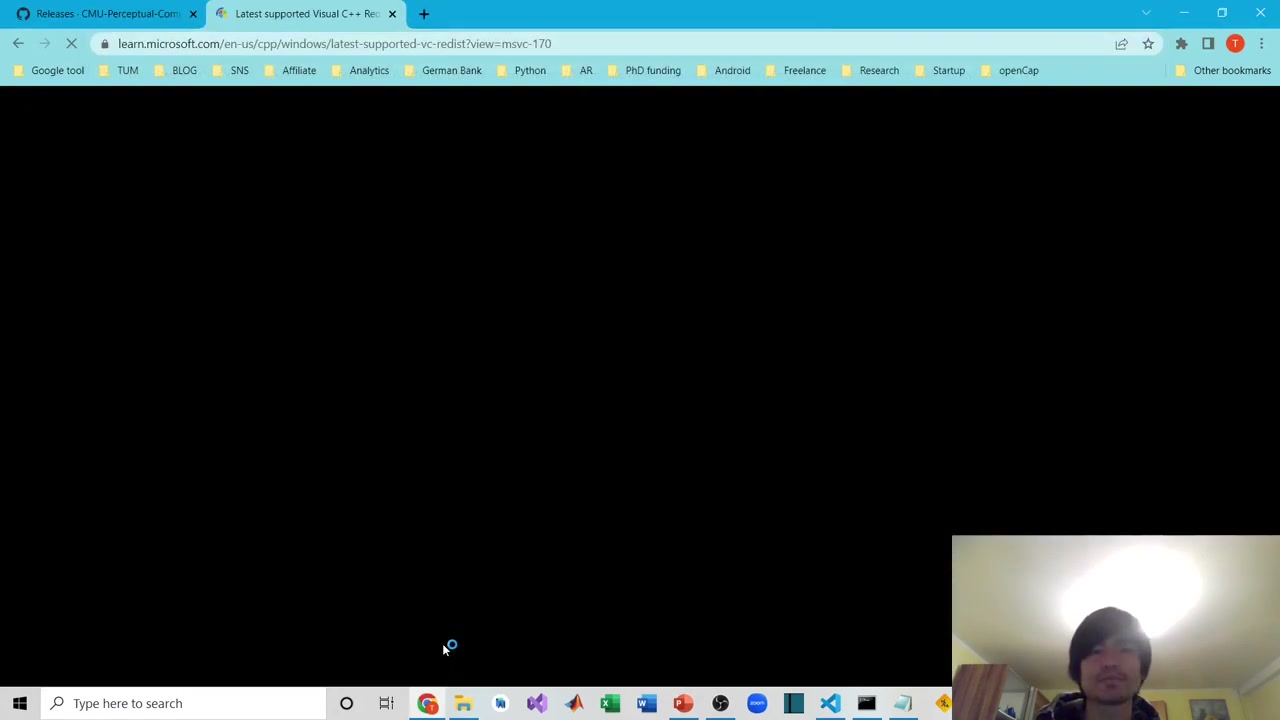
At this point you can technically run OpenPose — but if you do not have Visual Studio installed, you will usually hit an error on launch. The fix is to install the Microsoft Visual C++ Redistributable (Visual Studio 2015–2022), available from Microsoft’s official page: Latest supported Visual C++ Redistributable downloads. Pick the version that matches your system (most modern PCs use the x64 build). This resolves the large majority of startup errors.
You do not strictly need to install Python just to run the demo. If you hit a different error, the OpenPose documentation lists fixes for most cases — but the redistributable solves the common one.
Step 4 — Run OpenPose from the command line
Open a command prompt inside the OpenPose folder (type cmd in the folder’s address bar). A handy trick is to keep your common arguments in a text file and copy-paste them rather than memorising them. A typical command to extract pose data looks like this:
bin\OpenPoseDemo.exe --video INPUT.avi --write_json OUTPUT_FOLDER --display 0 --render_pose 0 --net_resolution -1x320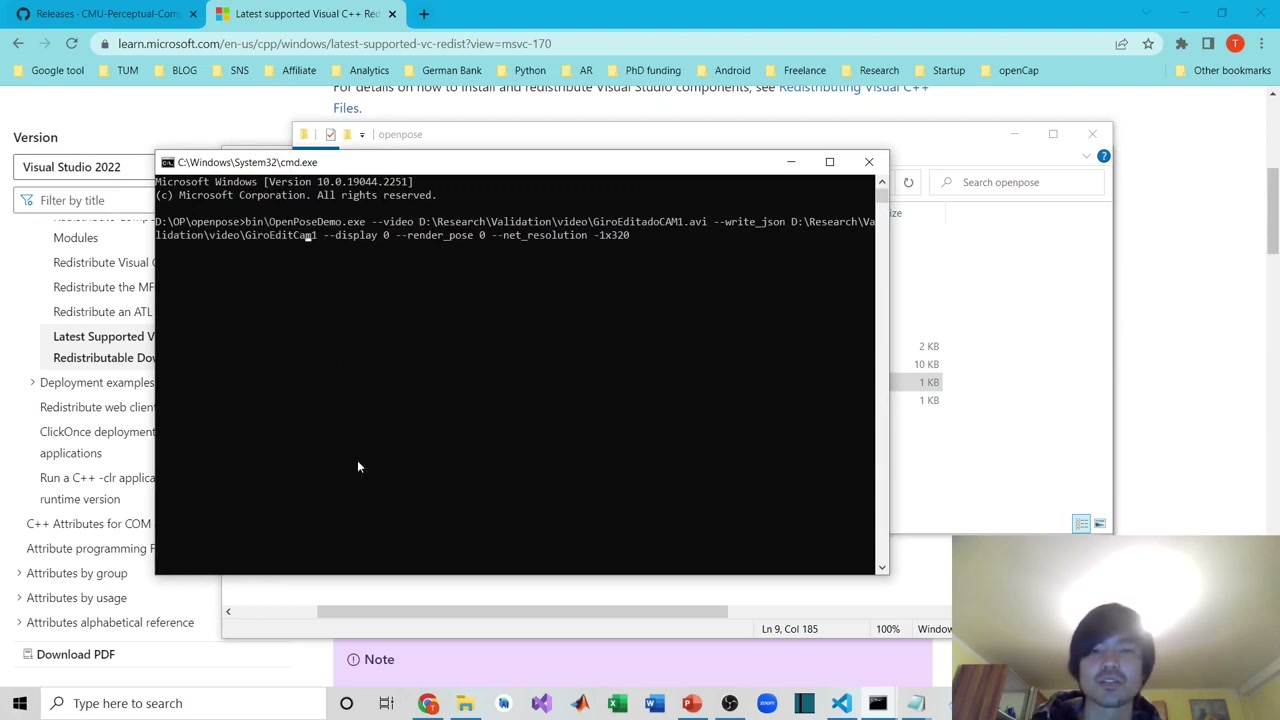
What each argument does:
--video— path to the input video you want pose estimation on (e.g. a.avifile)--write_json— folder where the JSON keypoint files are saved--display 0— turns off the live preview window, which saves a lot of processing time--render_pose 0— skips drawing the skeleton overlay (also saves time; you can overlay it later from the video plus the JSON)--net_resolution -1x320— the network input resolution
Out-of-memory tip: high-resolution video can trigger a memory crash. If that happens, lower the last number in --net_resolution — for example -1x160 — until it fits your hardware.
The demo data
The example footage in the video comes from a multi-camera capture: 12 cameras arranged almost 360° around the subject performing a squat, recorded at 100 fps at 2048×1536. Those 12 synchronized views are exactly what we will need for 3D reconstruction later in the series.
Coming next
With OpenPose installed and producing JSON keypoints, Part 2 covers camera calibration — the step that lets us relate all those camera views to each other. Subscribe on YouTube so you do not miss it.
About the author
Takashi Fukushima — research & development across Sports & Exercise Science, Human Pose Estimation, Computer Vision, and XR.
- YouTube (subscribe): Takashi Fukushima|Sports Science & Pose Estimation
- Research (ORCID): orcid.org/0000-0002-7318-3384
- Website: takashifukushima.com
- Contact: Get in touch