This is Part 2 of the series on capturing human motion with OpenPose and reconstructing it in 3D. In Part 1 we installed OpenPose and produced 2D keypoints. Here we tackle camera calibration — the step that lets us turn 2D keypoints from many cameras into accurate 3D. If you haven’t seen Part 1, start there; this post assumes you have OpenPose running.
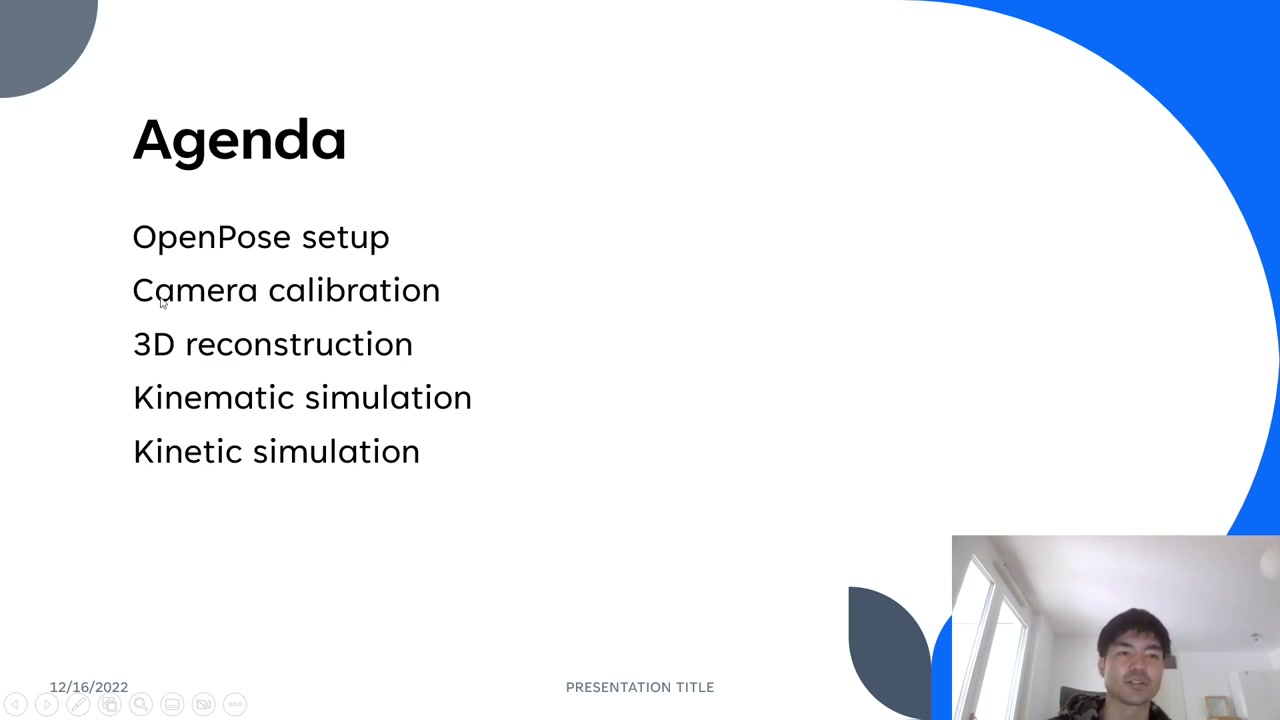
Camera calibration here has four milestones:
- Radial & tangential distortion
- Camera intrinsics & extrinsics
- Projection matrix
- Bundle adjustment
1. Radial & tangential distortion
Camera lenses bend straight lines — you can see walls and the checkerboard board curving near the edges of the frame. This distortion is heavier toward the edges, and if you don’t correct it, it lowers the accuracy of everything downstream. You can fix it with MATLAB, Python/OpenCV, and many other libraries; this tutorial uses the MATLAB Camera Calibrator app because it’s easy and lets you visualize the optimization interactively.
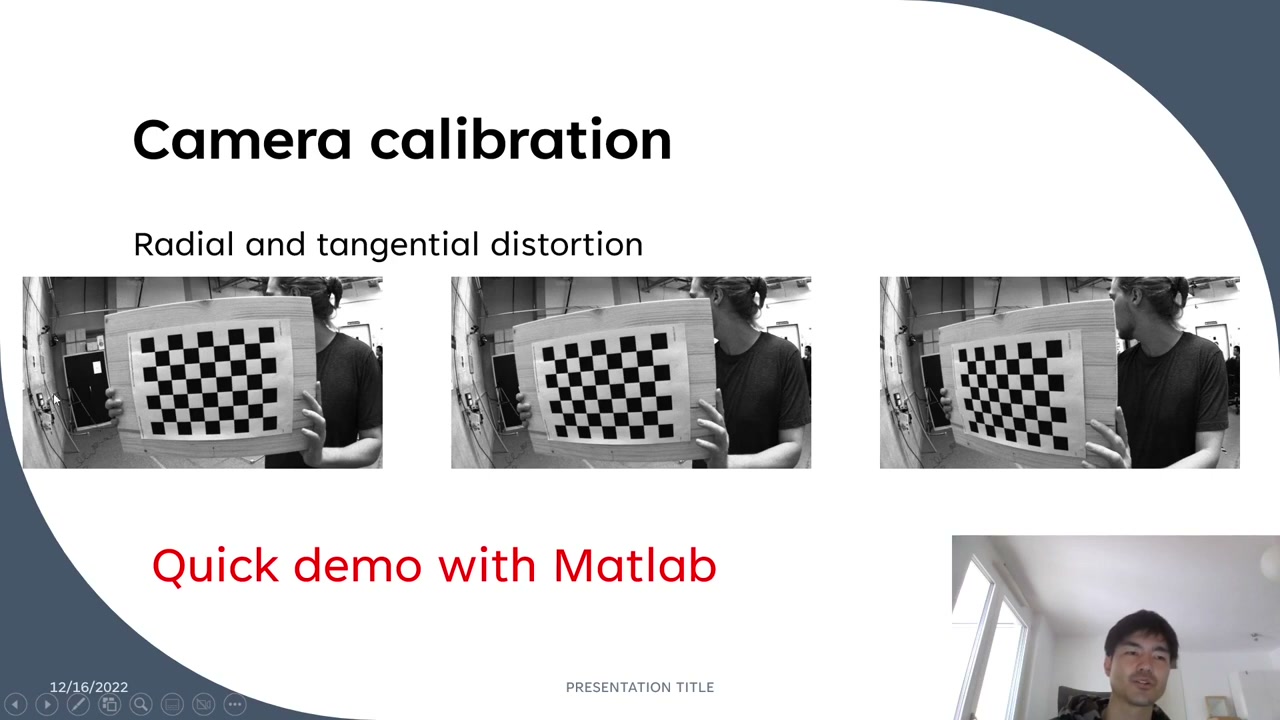
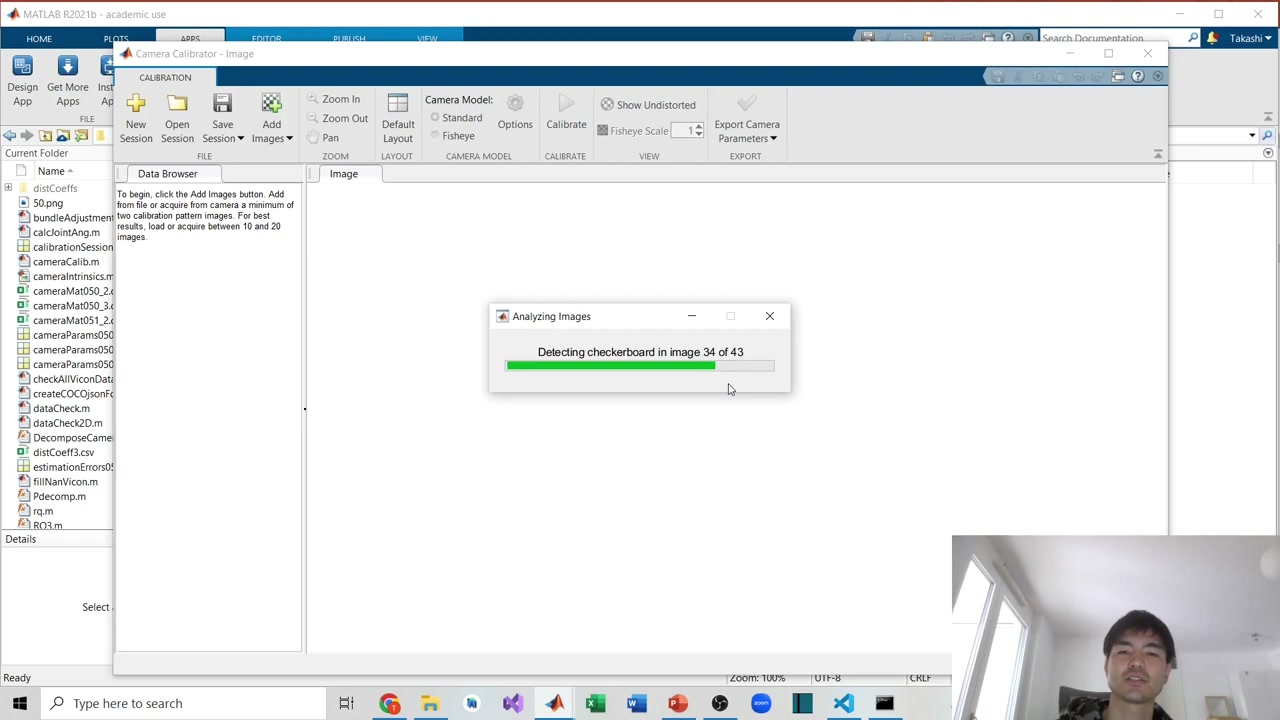
In MATLAB: Apps → Camera Calibrator (install it if it’s not there). Add your checkerboard frames. When you record them, move the checkerboard around the frame — especially toward the edges, where distortion is strongest — and tilt it at different angles, so the tool can estimate the coefficients precisely. Choose the Checkerboard pattern and enter the square size (here 25 mm). MATLAB then detects the corners in every frame.
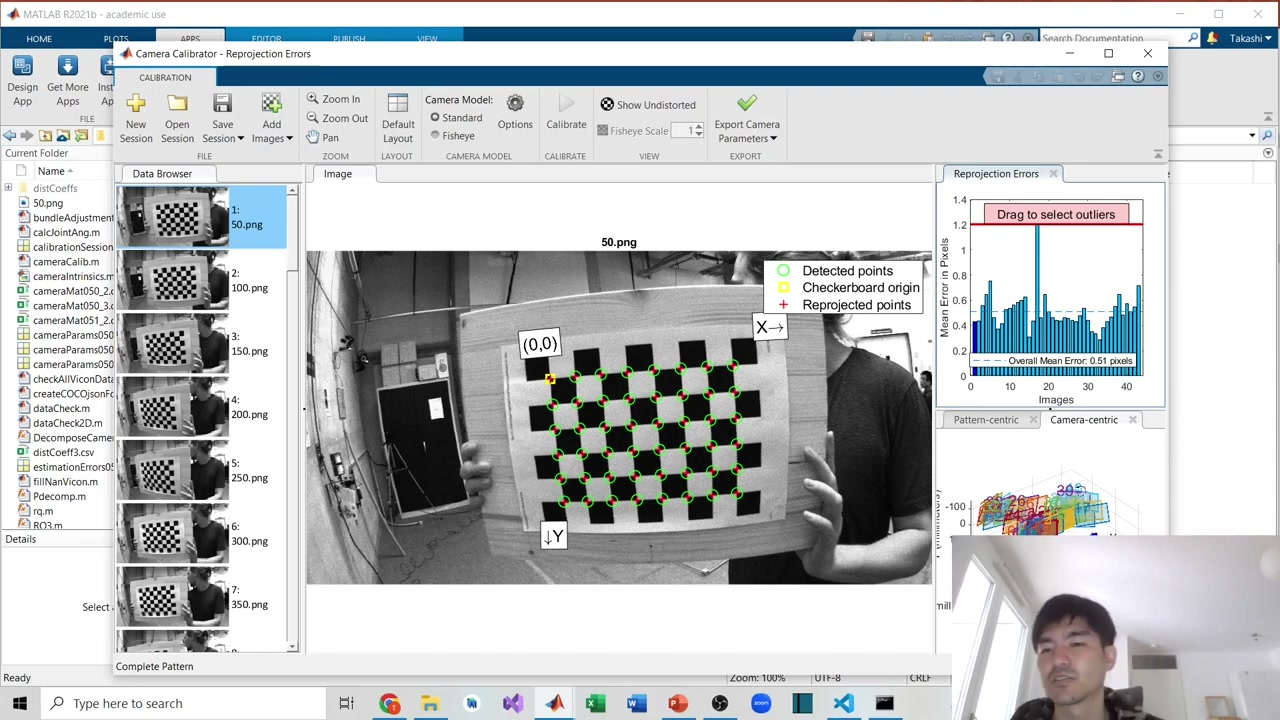
Under Options you choose 2 or 3 radial-distortion coefficients (use 3 for heavy distortion) and optionally add tangential/skew — here only radial is used. Press Calibrate. You get a reprojection-error bar chart (this demo: mean error 0.51 px) and 3D views of the checkerboard poses. Drag to set a threshold and exclude high-error frames, then recompute. When satisfied, export the parameters — you get the distortion coefficients and the camera intrinsic matrix, both of which we need next.
2. Camera intrinsics & extrinsics
Intrinsics are the parameters inside the camera: the focal length (distance from the focal point to the image plane) and the principal point (the x/y center of the image plane). We arrange them in the intrinsic matrix, which the Camera Calibrator exports for us.
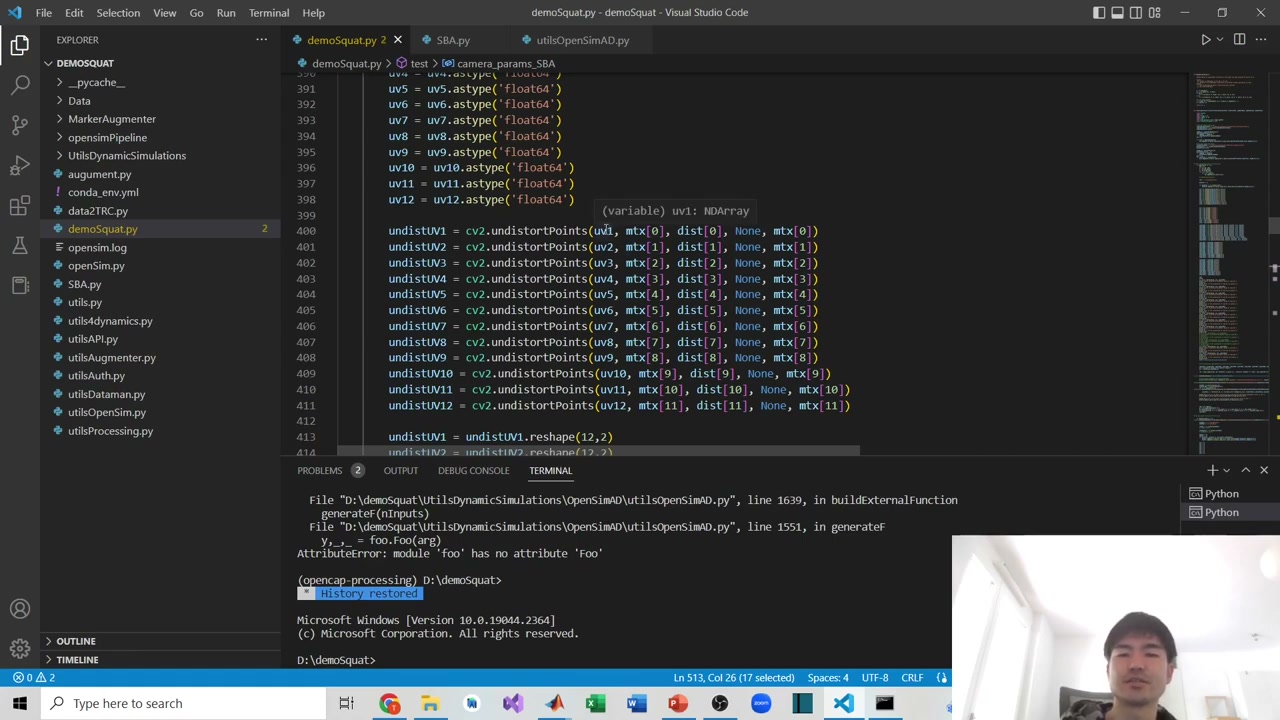
Extrinsics describe the camera’s pose relative to the world coordinate system — a rotation matrix and a translation vector (how far the camera is and which way it looks). With the intrinsics and distortion coefficients in hand, you can undistort 2D points using OpenCV’s cv2.undistortPoints, passing the points, the intrinsic matrix, and the distortion coefficients.
3. Projection matrix
The projection matrix combines intrinsics and extrinsics into one 3×4 matrix that maps a 3D world point to a 2D image point. There are two common ways to obtain it:
- Checkerboard method — computes extrinsics and distortion together, but every camera must see the same checkerboard at once. That’s impractical for cameras arranged 360° around the subject.
- Calibration cage / frame — a rigid object with known 3D points visible from all cameras at once. This is what the tutorial uses.
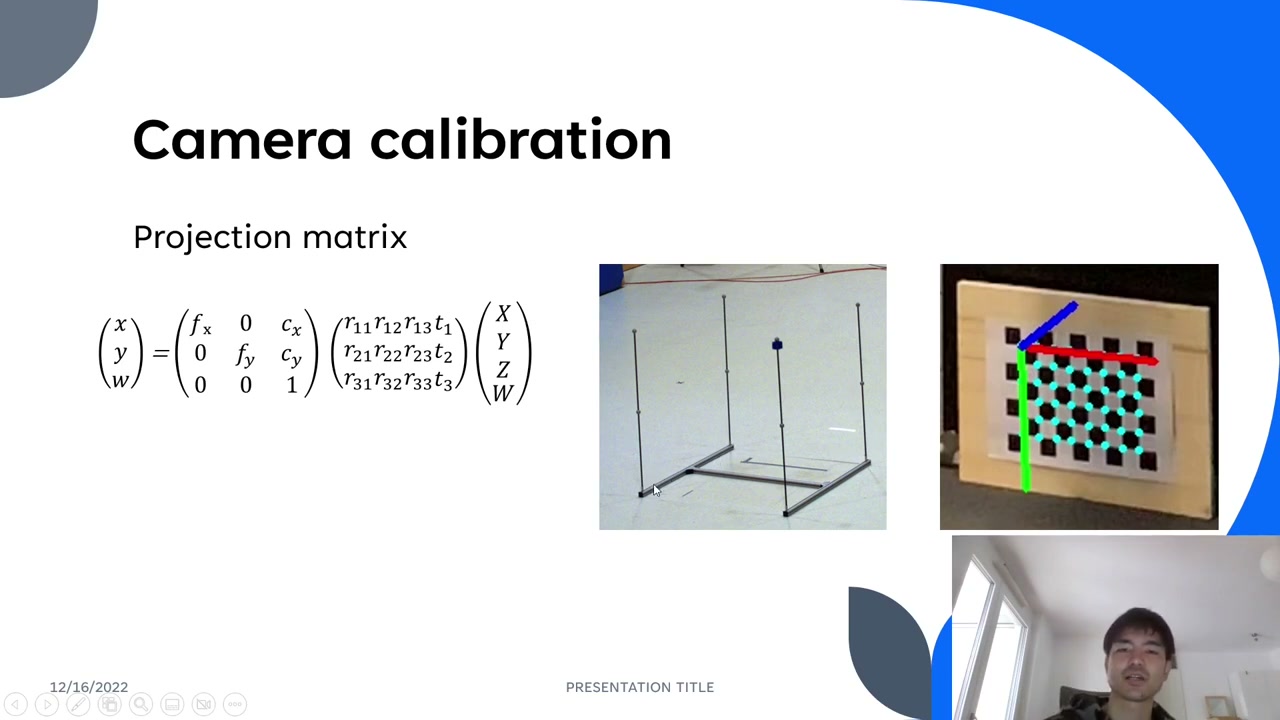
With the cage you know the 3D coordinates of each reference point (e.g. (0,0,0), (0,50,0), (0,100,0) — 50 cm between markers, 100 cm between poles) and their corresponding 2D image points (u, v) in each camera. In this demo there are 12 cameras and 12 reference points. The steps:
- Standardize the 3D and 2D coordinates (this improves the DLT solution).
- Reformat each point’s 3D↔2D correspondence into the DLT (Direct Linear Transform) equations — stacking 2 rows per point (24 rows for 12 points) into one large matrix.
- Apply Singular Value Decomposition (SVD); the last output component gives the projection matrix.
- De-standardize to get the final projection matrix.
You repeat this per camera. (The DLT and reconstruction code in the video is adapted from an open-source GitHub repository, credited by the author.)
4. Bundle adjustment
Finally, bundle adjustment refines the projection matrices. Using a least-squares optimizer (SciPy’s least_squares), you minimize the error between the known 3D calibration points and the 3D points reconstructed from all camera views. The result is a set of optimized projection matrices — each 3×4 (12 parameters) — one per camera (12 cameras here).
Bundle adjustment depends on 3D reconstruction, which is the subject of Part 3, so we only set it up here.
The demo setup
Throughout, the example uses 12 cameras arranged ~360° around the subject, a calibration cage with known 3D points (markers 50 cm apart, poles 100 cm apart), and a 25 mm checkerboard (43 frames for the distortion step).
Coming next
With distortion corrected and projection matrices calibrated, Part 3 covers the payoff: 3D reconstruction — triangulating the 2D keypoints from all cameras into 3D motion. Subscribe on YouTube so you don’t miss it.
About the author
Takashi Fukushima — research & development across Sports & Exercise Science, Human Pose Estimation, Computer Vision, and XR.
- YouTube (subscribe): Takashi Fukushima|Sports Science & Pose Estimation
- Research (ORCID): orcid.org/0000-0002-7318-3384
- Website: takashifukushima.com
- Contact: Get in touch