This is a practical, get-started-today guide to two free markerless motion-capture tools: OpenPose for 2D pose estimation, and OpenCap for full 3D capture using nothing but a couple of phones. Between them you can start doing kinematic analysis of an athlete or a student without any specialist hardware. Here’s how each one works.
OpenPose
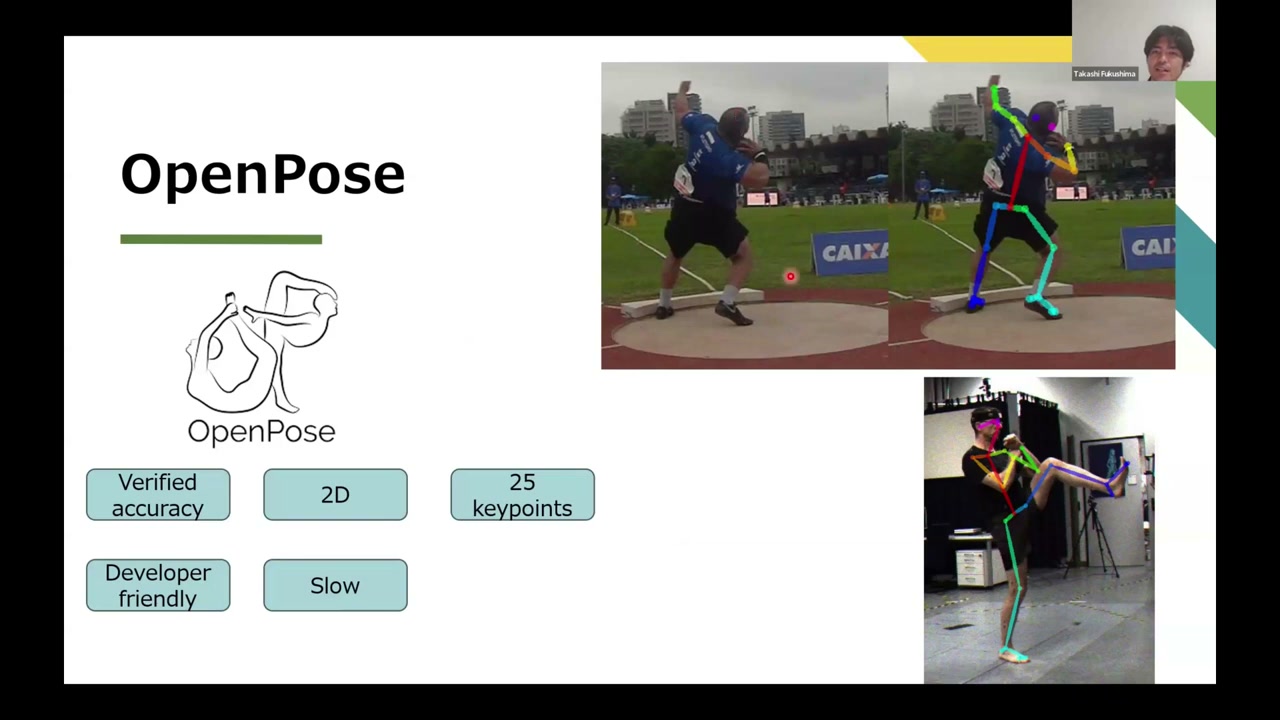
OpenPose is an open-source AI pose-estimation model that detects human joint locations from a video or image. It is one of the most researched pose estimators around. It outputs 2D data (pixel coordinates), gives 25 keypoints by default (you can add face, hands, and feet), is fairly developer-friendly (there are integrations, e.g. with Unity), and it’s a little slow — a GPU speeds it up a lot.
Install the portable demo
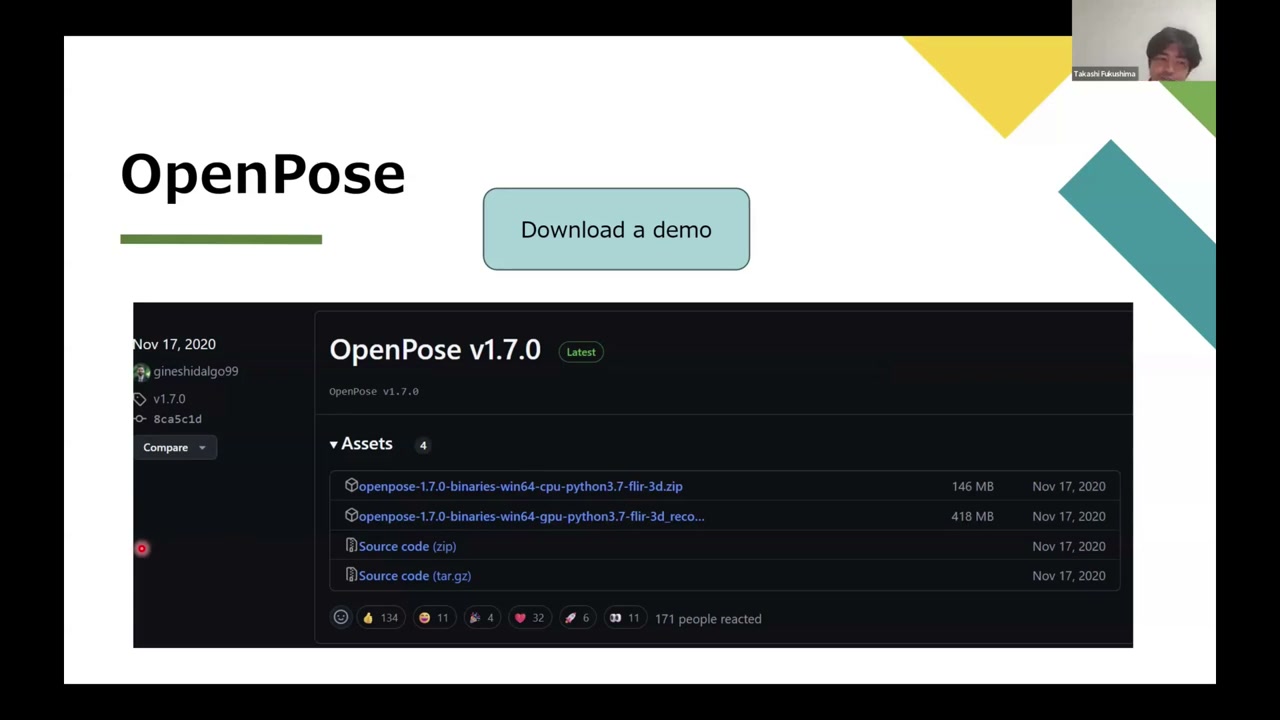
Search “OpenPose release” (or the portable demo) and download the latest version — v1.7.0 — from the GitHub releases page. It’s Windows-only (on Mac you’d have to compile it). Grab the GPU build if you have an NVIDIA GPU, otherwise the CPU build, unzip it, and put it wherever is convenient.
Get the models (the .bat is broken)
The instructions tell you to double-click models/getBaseModels.bat to download the body/face/hand models — but that no longer works (the cloud link is dead). Instead, download the models from the OpenPose models Google Drive and replace the models and 3rdparty folders with the downloaded ones. The one thing to keep from the original folders is the .prototxt file inside each of face, hand, and pose.
Run it
Open a command prompt in the OpenPose folder (type cmd in the address bar) and run the demo from the bin folder:
bin\OpenPoseDemo.exe --video PATH\TO\video.mp4- For a folder of images instead:
--image_dir PATH\TO\images - To speed it up (especially CPU-only):
--render_pose 0,--display 0, and lower the--net_resolution(e.g.-1x368; the-1keeps the aspect ratio) - To save outputs:
--write_video,--write_images, and — most importantly for analysis —--write_json PATHto save the 2D keypoints as JSON
There are many more options (hands, feet, face, and so on) documented on the OpenPose website. If you want to go deeper on this, see Part 1 of the OpenPose & 3D reconstruction series.
OpenCap
OpenCap captures motion in 3D using multiple phone cameras, processes it, and lets you run kinematic analysis and even kinetic simulation (via OpenSim) — with a genuinely lovely visualization, all for free. Compared to traditional lab systems (like Vicon) it is dramatically simpler to set up. Because OpenPose only gives 2D per camera, OpenCap’s trick is to fuse the 2D from multiple cameras into 3D.
1. Install the app and sync the cameras
You need iOS devices from 2018 or later (iPhone/iPad). Install the OpenCap app, and scan the QR code to synchronize the devices. Print out a checkerboard as well. You use exactly two cameras for the basic setup (each camera must see both the checkerboard and the full movement).
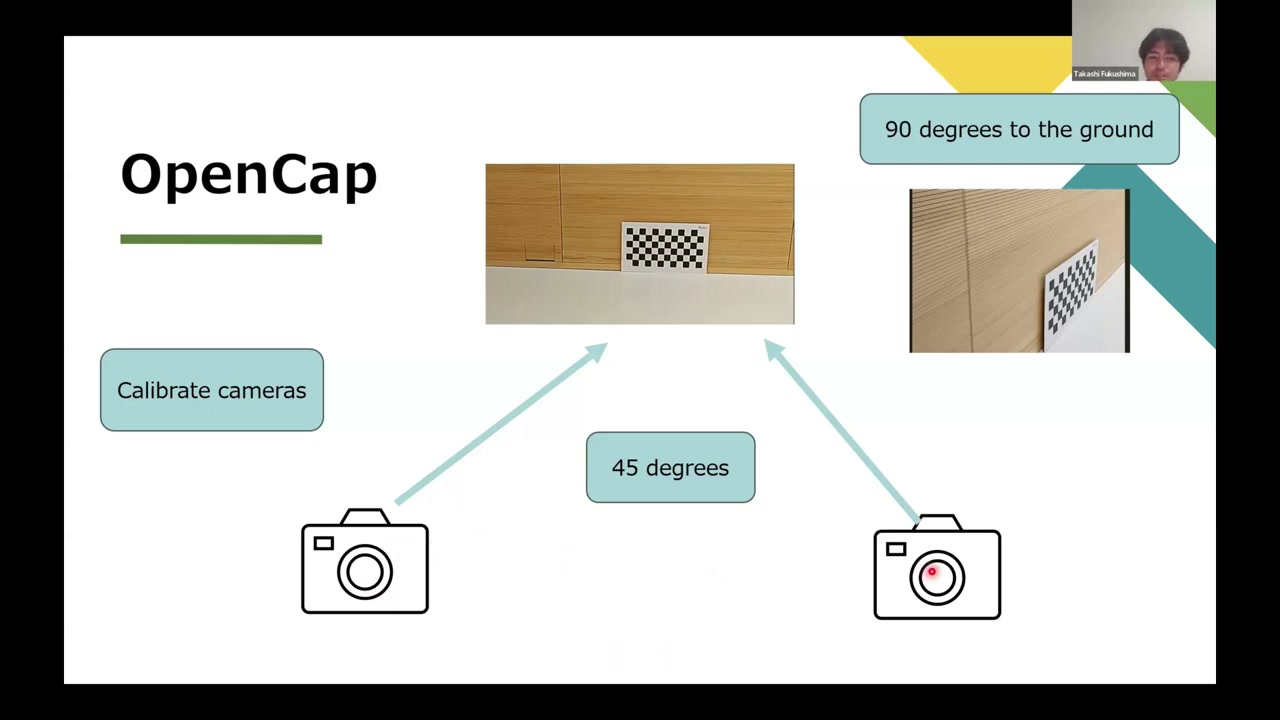
2. Place and calibrate the cameras
Mount the phones (lock the orientation) roughly 45° to the space you’re capturing. Put the checkerboard where every camera can see it — if it’s on a wall, keep it 90° to the ground. Then enter the checkerboard’s rows, columns, and square size (in millimetres) and its orientation (wall/perpendicular or floor), and hit Calibrate.
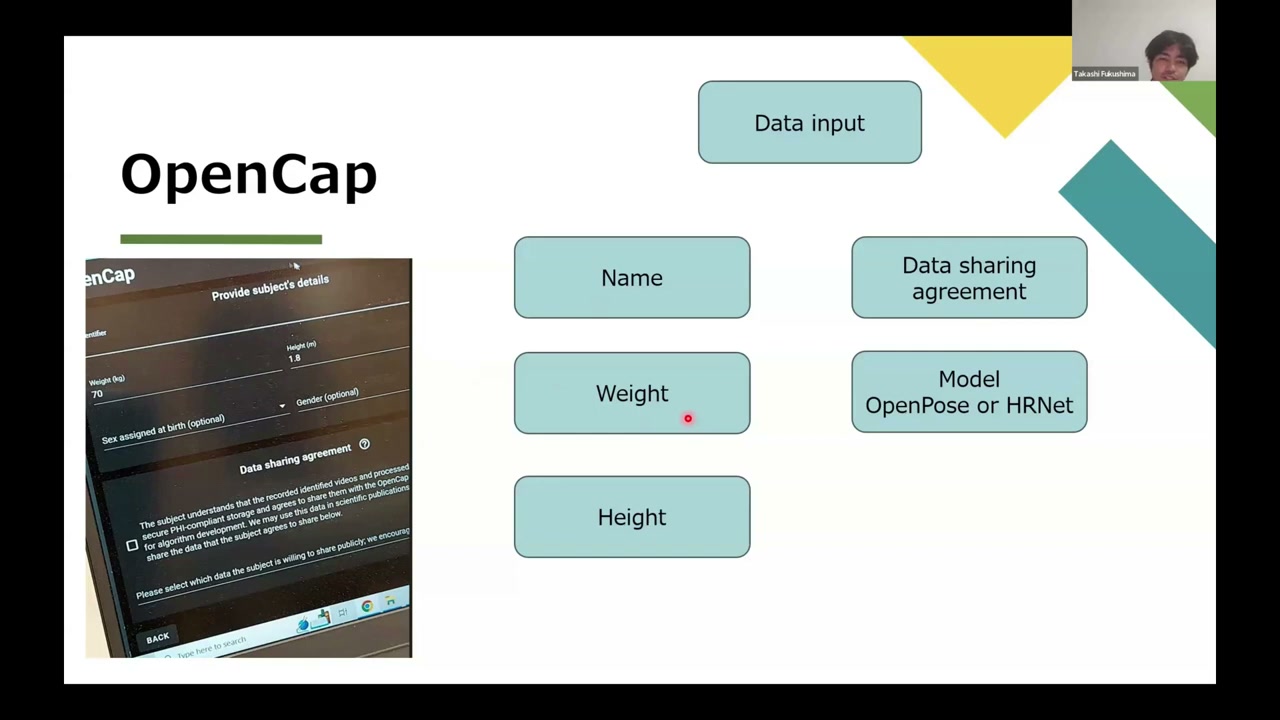
3. Enter the subject data
Type the athlete/trial name, weight (kg) and height, agree to the data-sharing agreement, and pick the pose model: OpenPose or HRNet. OpenPose is fine for research; for commercial use HRNet is usually the safer licensing choice (double-check the current terms). The two models differ in accuracy and speed, so try both for your use case.
4. Static calibration, then record
For the static calibration, the subject stands in an A-pose — arms spread about 45°, feet a little narrower than shoulder width — and you hit record. After a couple of minutes of processing you get a clean 3D skeleton (OpenCap fusing the 2D views into 3D). Then enter a trial name and record the actual movement with start/stop.
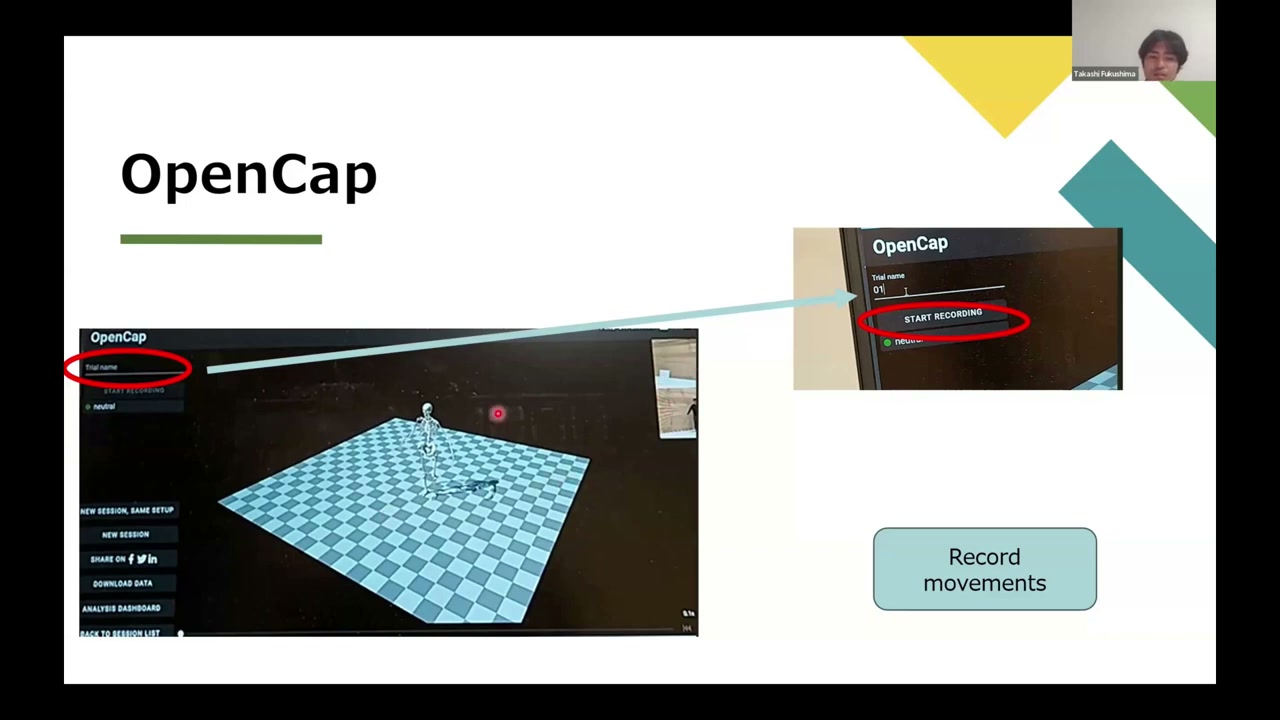
Each recording shows a yellow circle while it processes — leave the app open and the internet connected — and turns green when it’s ready. Then you can rotate the 3D skeleton, watch the synchronized videos, plot joint kinematics over time, and download the data.
Takeaway
Two free tools, two levels of analysis: OpenPose for 2D keypoints from any video, and OpenCap for full 3D capture from a pair of phones — all the way through to kinematics and kinetics. If you want the deeper, do-it-yourself pipeline (calibration, 3D reconstruction, and simulation from scratch), that’s the OpenPose & 3D reconstruction series.
About the author
Takashi Fukushima — research & development across Sports & Exercise Science, Human Pose Estimation, Computer Vision, and XR.
- YouTube (subscribe): Takashi Fukushima|Sports Science & Pose Estimation
- Research (ORCID): orcid.org/0000-0002-7318-3384
- Website: takashifukushima.com
- Contact: Get in touch